
The kinds of options you can add
In the builderThe OptionKit web page where you create your options and see a live preview. It has two tabs: Options, where you build, and Setup, with the Setup guide for putting OptionKit on your store. (the OptionKit page where you set up your options), you add an option with + Add an option. It opens a menu with each kind of option, with an icon. Pick one and it starts you with sensible settings you can change. This page shows each kind, what customers see, and its settings.
Updated October 2026 · Squarespace 7.1
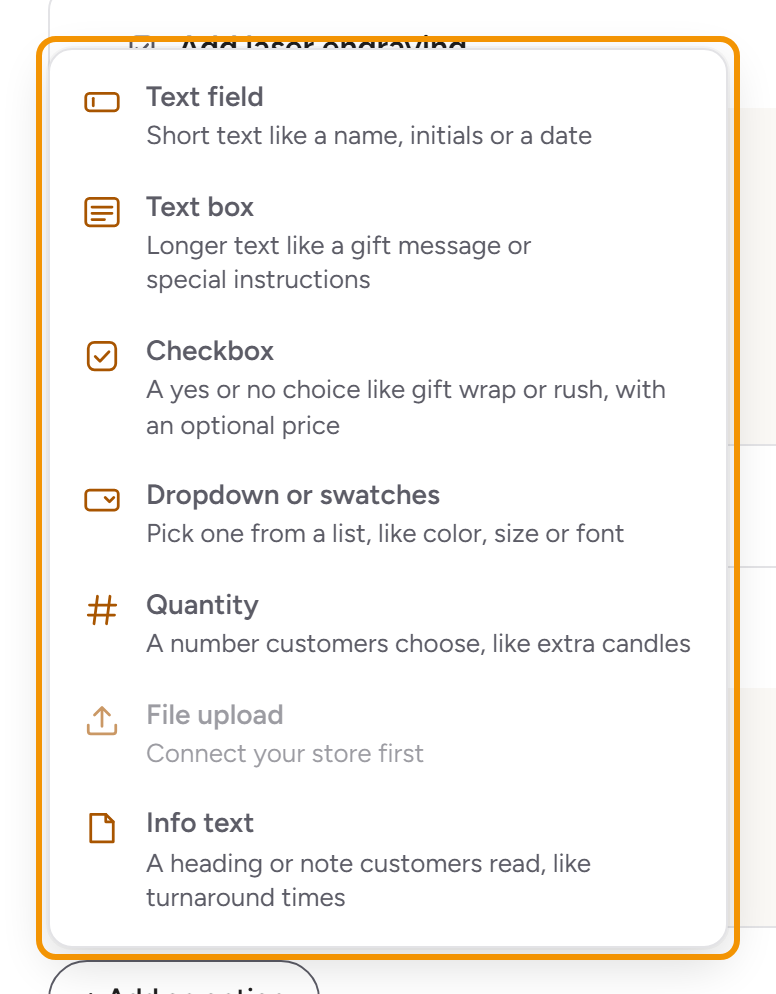
Text field
One line for the customer to type, like a name, initials or a date to engrave. It starts with no name, with the example “Name or initials” in grey, required, with at most 30 characters. Give it your own name in Option name, like “Engraving text”: until you do, its row says Add an option name and Update waits.
Use it for anything short that goes on the product. Its Limits are the minimum and maximum number of characters, Allowed characters (Anything, Letters only, Letters and spaces, Letters, numbers and spaces, or Numbers only) and Capital letters only. Check it and what customers type turns into capitals as they type. The letter rules take every letter, accented and non-Latin too (Dvořák, Nguyễn, Иван), and both kinds of apostrophe (O'Brien, O’Brien). An answer with characters the box doesn’t take is told so when the customer leaves the box, in the same words as at Add To Cart; Add To Cart still checks everything.
Live preview is coming soon: customers will see their words on your product photo, in the font they pick. Notify me at launch
Text box
A larger box for longer text, like a gift message or instructions for you. It starts with no name, with the example “Gift message” in grey, optional, with at most 200 characters. Its limits are the same as a text field’s.
A Text field can be changed to a Text box (and back) from its ⋯ menu: Change to Text box or Change to Text field. Its name, price, rules and limits stay.
Checkbox
A checkbox for something customers add or don’t, like gift wrap, rush production or a card. It starts with no name, with the example “Add gift wrap” in grey, and free: a price is something you type.
Under More settings, Default state says whether it starts checked. If a paid option starts checked, the builder warns you: customers would pay for it unless they uncheck it, and some countries don’t allow that.
Dropdown or swatches
A list of answers where customers pick one, like a font, a color, a size or a finish. It starts as a required dropdown with no name, with the example “Size” in grey, and two empty choices. Until you name them, the option says Name the choices. and Update waits. Each choice can have its own price.
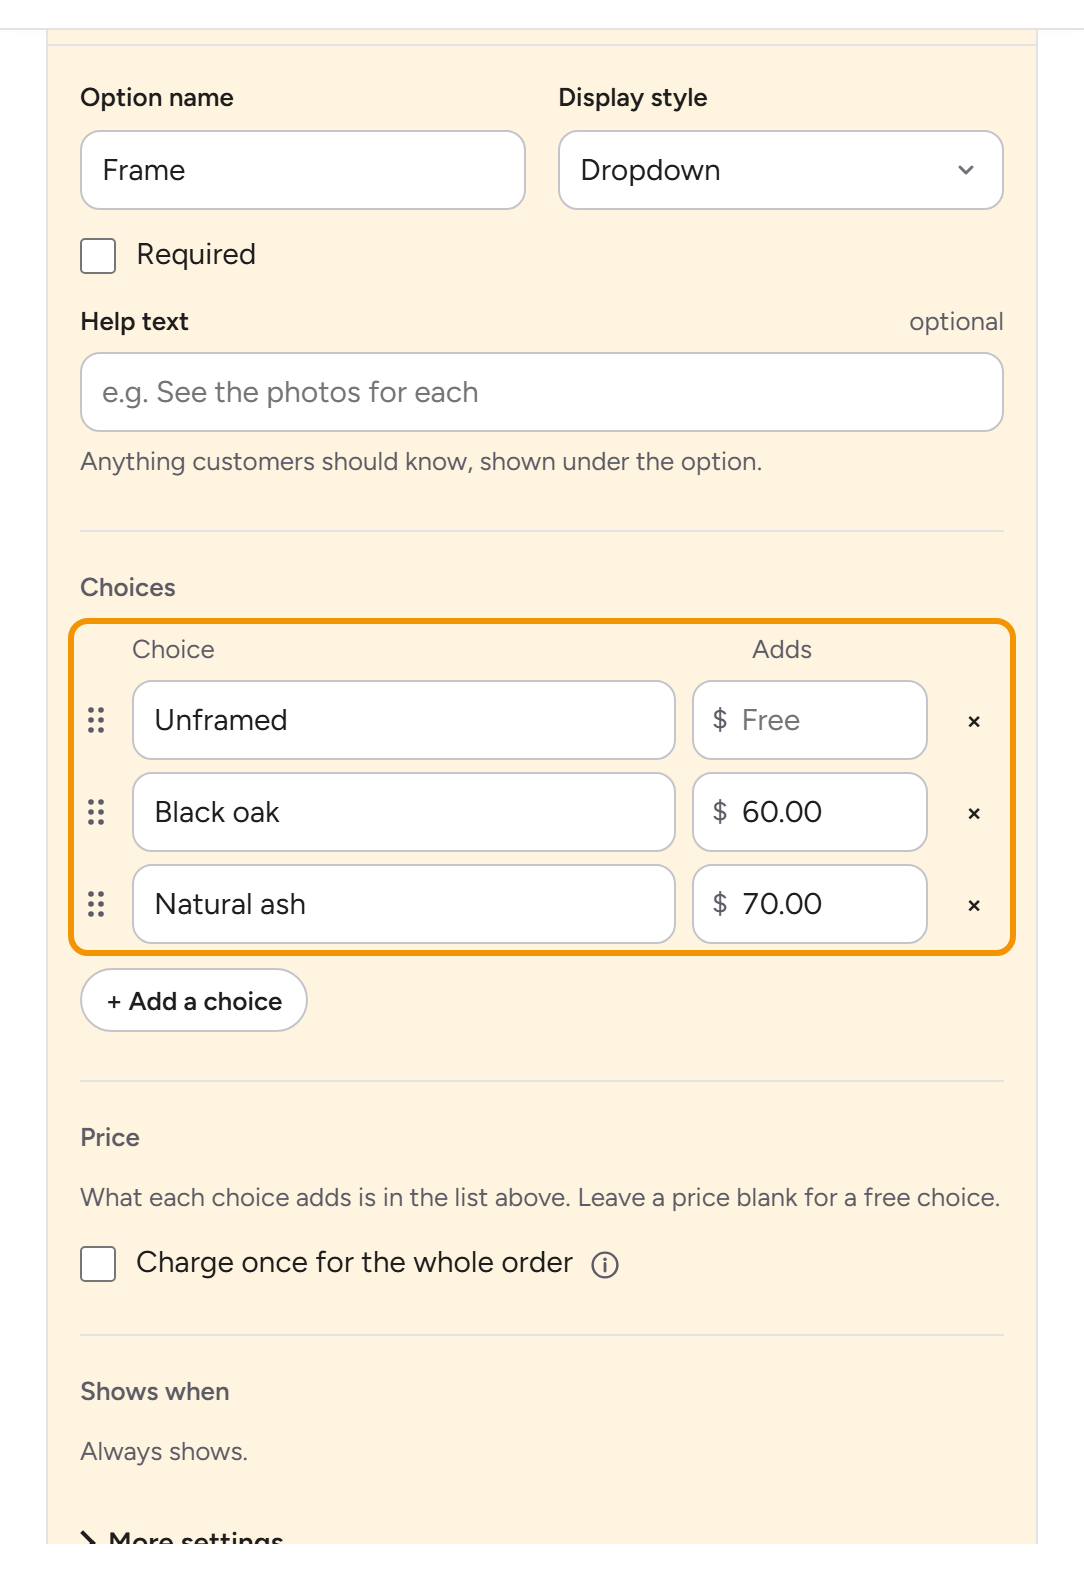
Typing the choices is quick:
- Press Enter in a choice to add a new one below it.
- Press Backspace in an empty choice to remove it.
- Paste a list with one choice per line, and each line becomes a choice.
- To change the order, drag a choice by its handle (the six dots on its left). Or select the handle and press the ↑ and ↓ keys.
Display style sets how the choices appear:
- Buttons: a row of buttons with the choice names.
- Color swatches (beside): a pill for each choice, with a small dot of its color beside the name. A choice without a color shows its first letter in the dot. To take a color off a choice, open its color picker and select Remove color.
- Color swatches (above): a larger circle of color for each choice, with the name under it.
- List: one choice per line, each with a round button.
- Dropdown: a menu that opens, good for a long list.
A font choice shows its name (Serif, Script…), not the customer’s text in that font. Live preview is coming soon: customers will see their words on your product photo, in the font they pick. Notify me at launch
Before a customer picks, the dropdown says “Choose a” and its label, like “Choose a style”. Rename the option and it follows, so “Finish” says “Choose a finish”. A name that is a plural, like “Colors” or “Sizes”, says “Choose one”. To say something else, change Before a choice is made under More settings.
Under More settings, Default choice picks a choice to start with, or Nothing.
Quantity
A number for customers to enter, like extra candles or additional names. It starts with no name, with the example “Extra candles” in grey, from 0 to 20, and free. Customers see − and + buttons beside the number, like your product’s own quantity. Its limits are the lowest and highest number allowed. A number outside them can’t be added to the cart, and it adds nothing to the price while it’s there.
File upload
A box where customers add a file with their order, like a photo for a cake topper or a logo to engrave. They drop the file on the box or select Choose a file. It starts with no name, with the example “Your logo” in grey, and one file allowed. You can allow up to 10.
Under Allowed file types, check the kinds of file customers can send: Photos (JPG, PNG, HEIC, WebP, GIF), PDF, Design files (SVG, AI, EPS, PSD) or Documents (Word and plain text). Photos is checked at first. At least one stays checked: to change it, check the one you want, then uncheck Photos. Next to it you set how many files, and Maximum file size: up to 25 MB for each file.
The files are kept on JuiceKit’s own storage, and the order shows each file’s name with a private link to it. You find them in the builder in the ⋯ menu › Files from customers, grouped by item under the product’s name and the item code. With 10 files or more you can search them, and with files from two products or more you can show one product’s files. To download several files at once, select them, then select Download selected: they are saved as one zip file of up to 500 MB, and each file in it has the name its link on the order gives it, like MANGO-42-2.jpg. Delete acts at once. For 10 minutes the file stays on its row with Restore, and the message after Delete has Undo; after that, the file is deleted for good. Each store can keep up to 5 GB of customers’ files. You get an email once when your store passes 90% of its 5 GB and once when it is full, and while it is full, customers can’t upload files. Files are deleted 90 days after the item goes in the cart, and an upload that never goes in a cart is deleted after 7 days. Once a file is gone, its link on the order says “This file was removed on Jan 4.” with the real day. A file upload can also have a price per file.
If a file doesn’t upload, the customer sees why under the box and Add To Cart waits, whether the option is required or not: “Your photo didn’t upload. Try again, or remove it to continue without it.” An empty file says so (“That file is empty”), and when the shop can’t take files at all, customers read “This shop can’t take files right now. Please try again later or contact the shop.”
File upload needs your store connected, because the files are kept online with your store. If it isn’t yet, its card says Connect your store first.
Comparing it with Squarespace’s own ways of collecting files? See Add a file upload to a Squarespace product.
Info text
Text for customers to read, not a question, like turnaround times or care instructions. A note can have simple formatting: paragraphs, bold and links, and a link can be bold too. Links open in a new tab, so customers keep their choices.
Settings every option has
- Option name: the name customers see above the option, like “Engraving text”.
- Required: check it, and customers can’t add the product to the cart until they’ve answered. A checkbox can’t be required.
- Help text: a line under the label, like “Up to 28 letters. We engrave exactly what you type.”
- Shows when: always, or only when another answer is chosen. An option can only depend on one above it, so the first option says Always shows. See Show an option only when another is chosen.
- Price: what the option adds. See Charging for options.
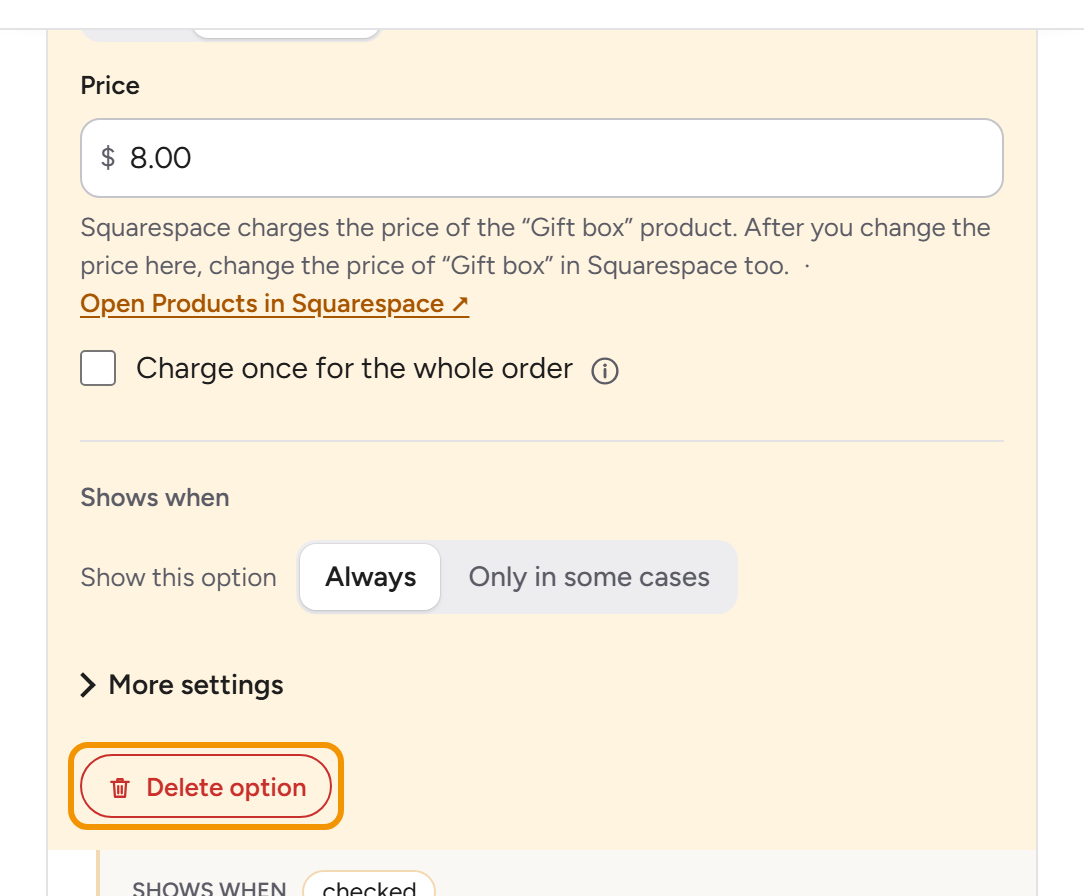
- Under More settings: a Placeholder for text (gray example text in an empty box; keep it shorter than the character limit, so it fits) and Name on the order, a shorter name for your orders. For example, “Add a gift box?” can show on the order as “Gift box: Yes”.
Questions
Can I change what kind of option it is later?
For choices, yes: Display style switches between buttons, swatches, a list and a dropdown, and keeps the choices and their prices. To turn text into a checkbox, add a new option and remove the old one.
How many options can a product have?
As many as you like. Each can have its own price, and each can show only when it applies.
Where do customers’ answers go?
Onto the Squarespace order, next to the item, with the name of each option. You see them in Commerce › Orders, as with any order.